Nissan S15 Car Build – Staying N/A

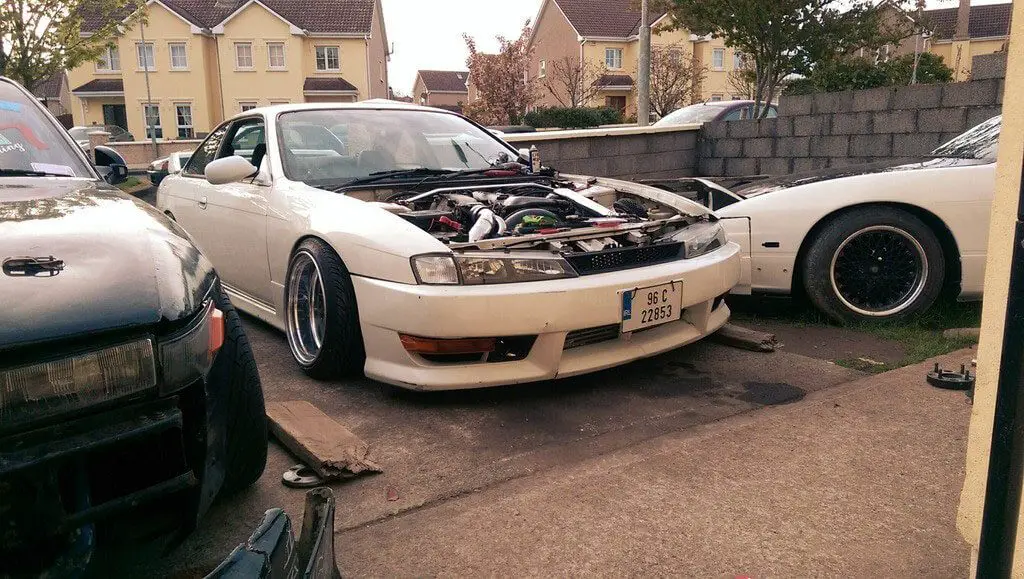
About 3 years ago i picked up an N/A S14 and I did a few bits to it. I drove it every day for about a year and a half. I had the desire to give the S14 a turbo so I picked up a T25 and all of the other bits I needed and just bolted them to the N/A engine. It worked really well, making fairly decent power on the WCP dyno but in all honesty I regretted it almost instantly. It had lost all of the fun of the N/A. This was one of the main reasons I sold it. Below you can see the beauty.

Modified Nissan S14

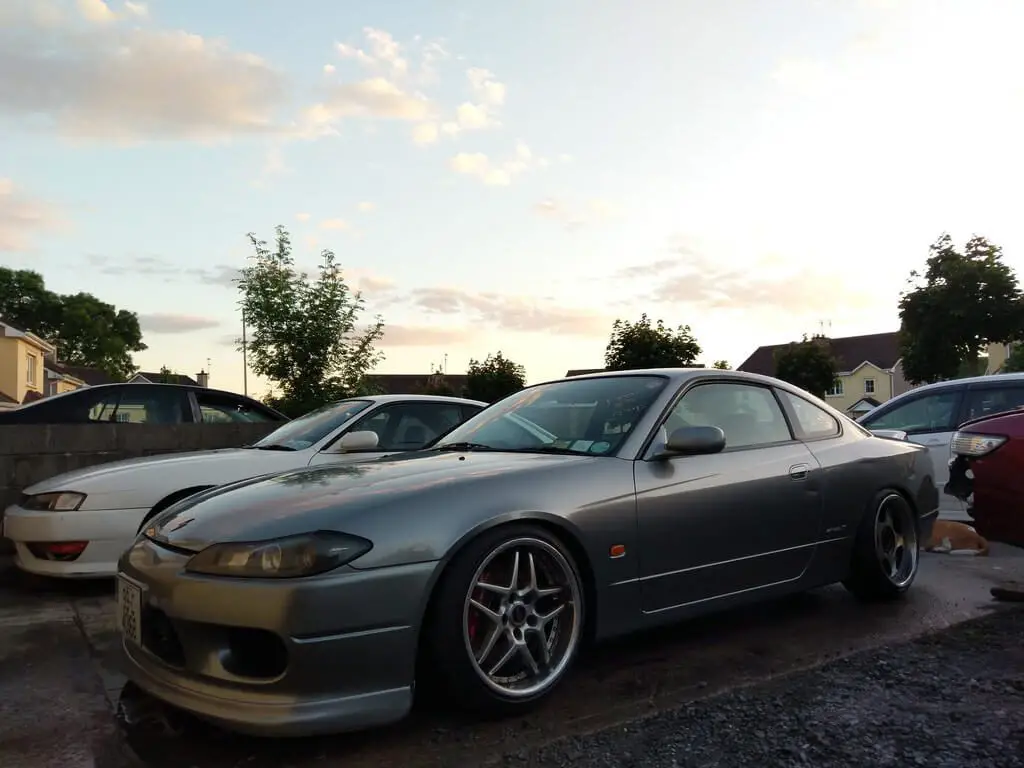
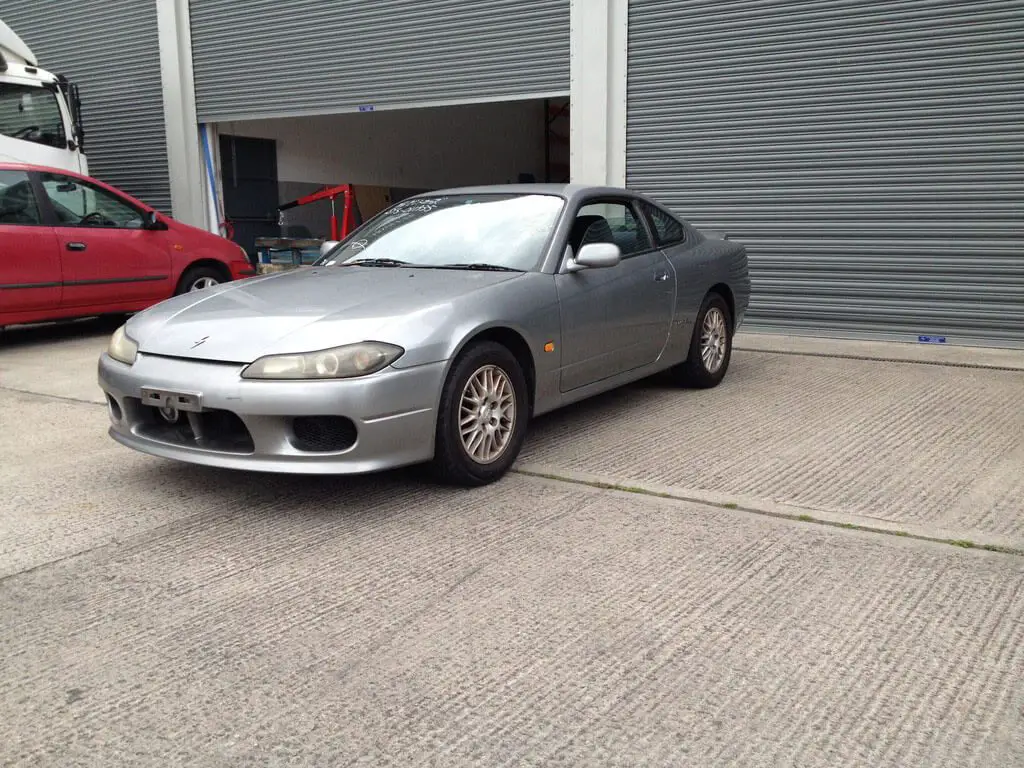
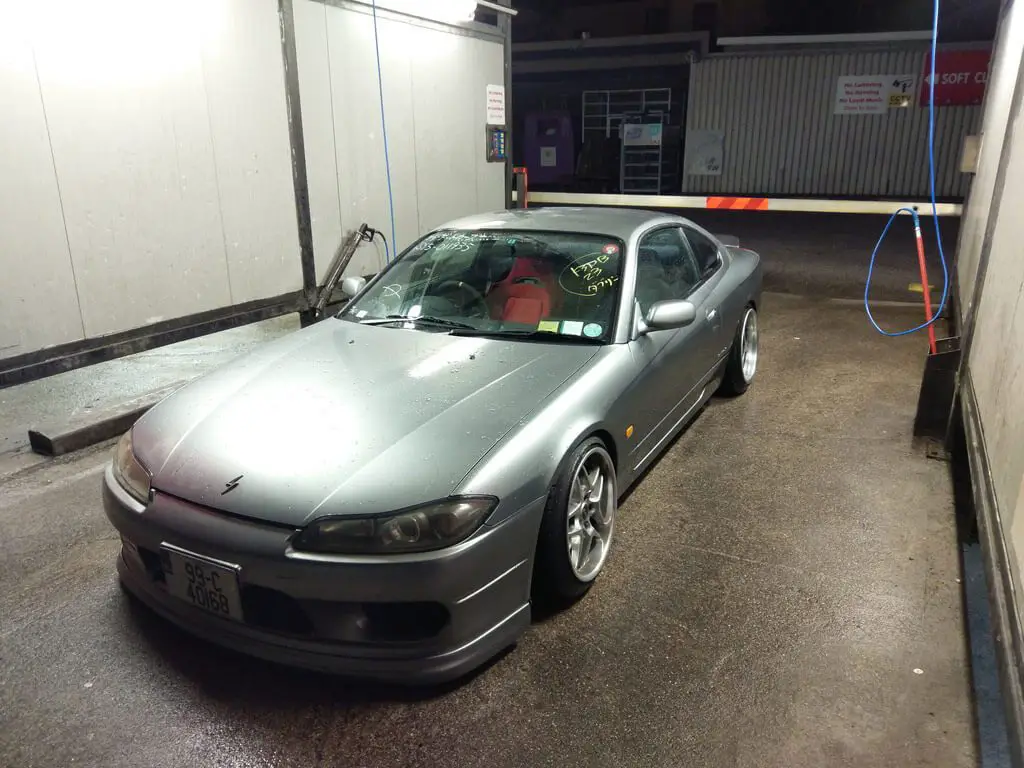
Once I sold it I knew I was going to have to get back in another N/A s-body, so about 2 months ago I saw an N/A s15 up for sale which was still in Japan. There and then I knew I had to get it so put a deposit down on it. Timing worked out well, the S15 landed on the Tuesday and the Jeep I was running sold on the Friday. So on the Saturday after work I headed straight to the garage and picked it up. The pictures he had originally sent me showed a fairly decent car but when i got there I was blown away by how good the car actually was, so that was a really nice surprise. This was it when i was picking it up.

Modified Nissan S15 Stock

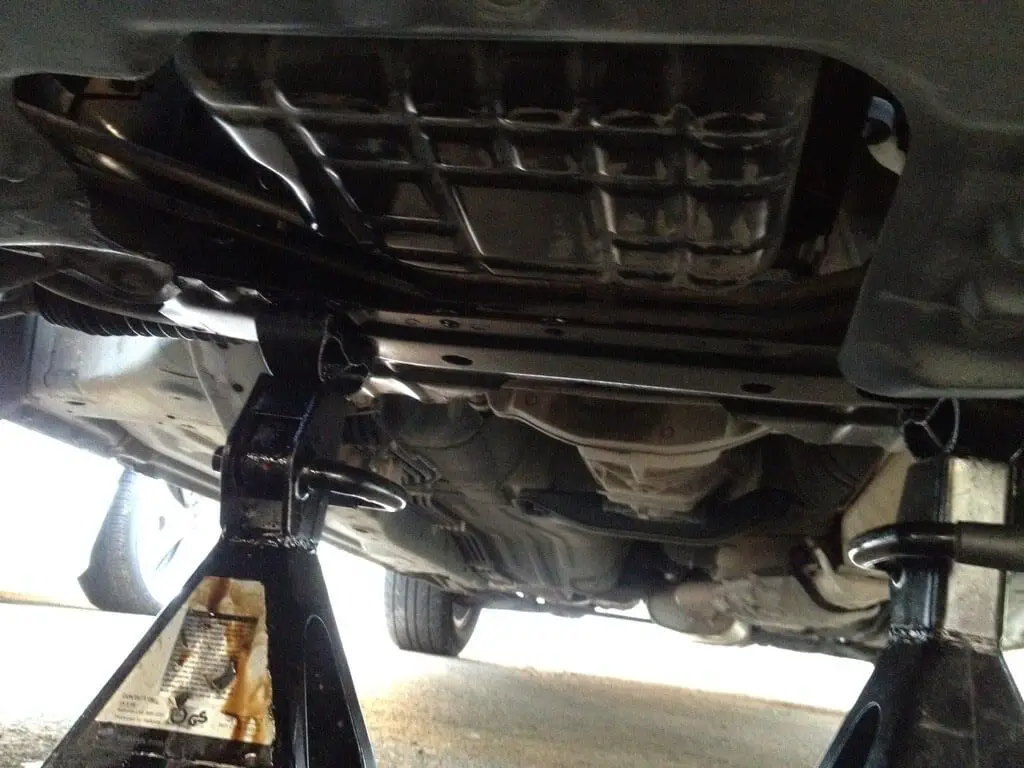
I only had it for a week and was away from home most of the time, so I got very little time to spend on the car unfortunately, but I did get to service it and got to have a better look underneath. I was delighted with how clean it was.

Modified Nissan S15 Under

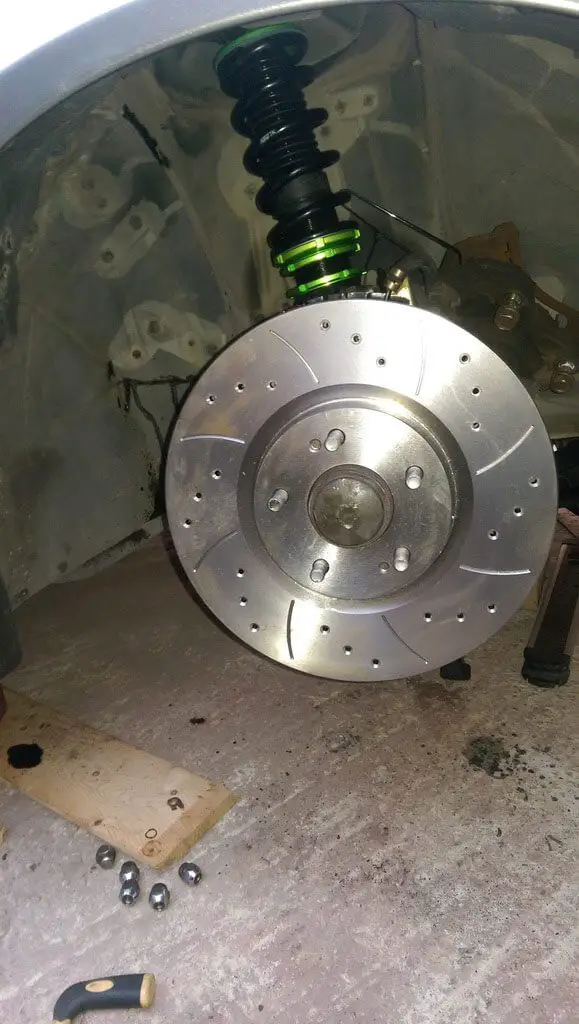
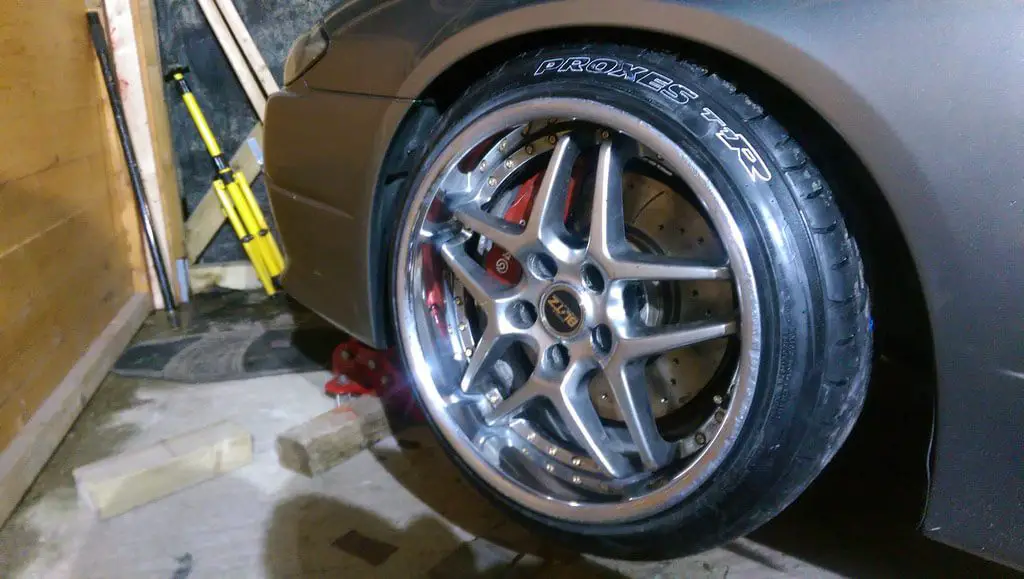
I picked up some nice big Brembo brakes off an Evo 7, with drilled and grooved discs and a pair of Nismo front lower arms to go along with them. A huge improvement from the originals!

Modified Nissan S15 Brembo Brakes

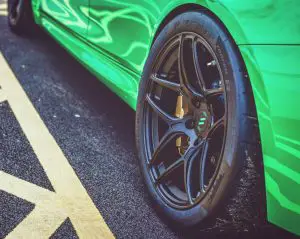
Actually fitting them turned out to be a bit of a dick. It took me almost a month to get a set of adapters to simply bolt the calipers on and I had to change to a bigger BMC . It was just a time consuming and annoying job overall with a bunch of hiccups and hurdles, but it’s done now. I then had the problem that my wheels wouldn’t clear the calipers which I had sort of expected, until Daren Moynihan put a pair of 8.5″ Blitz O3 rims up for sale. I bought them and they fitted nicely, but shortly after he was selling a pair of 9.5 ” O3’s so naturally I bought those too. I now have 6 Blitz O3s when all I wanted was a pair, but hey ho.

Oh, I also got a new set of HSD Monopro coilovers.

Modified Nissan S15 suspension

I finally picked up a pair of seats that I had been wanting for a good while. They were a pair of red genuine B-GREOS . I already had a drivers side Bride Rail sitting here for a while so just loosely fitted the drivers seat.

Modified Nissan S15 Bucket Seats

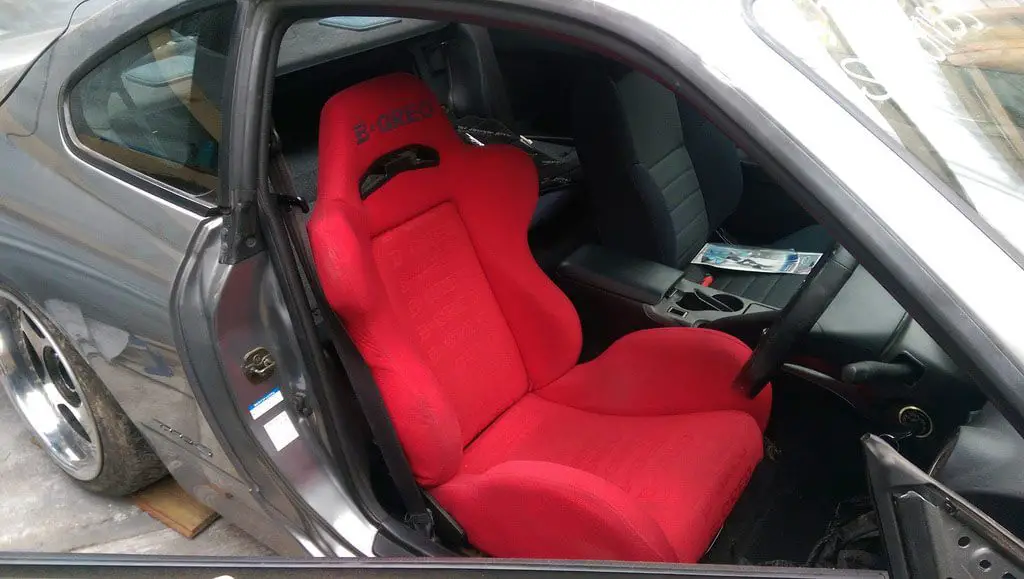
After fitting the new seat, I quickly realised a couple of things;
1. I’m a fat bastard.
2. I’m way too tall to fit with the standard wheel. My knees are wrapped around the wheel, so to be able use the seat I’ll need to use a dished steering wheel of some sorts. I already have an NRG snap off kit, but I just hadn’t decided on what wheel to run. I decided to hold off for a while before I decide.

After installing the coilovers, I rolled my arches properly. Cleaned them all down inside and gave them a few coats of stone chip. Once they were rolled I then gave the lip of the arch a few coats of clear just to make sure they would stay protected. But me being a smart twat, I forgot to take pictures as I was going…

I also got myself a pair of Toyo Proxes T1’s for the front end.

Modified Nissan S15 Wheels

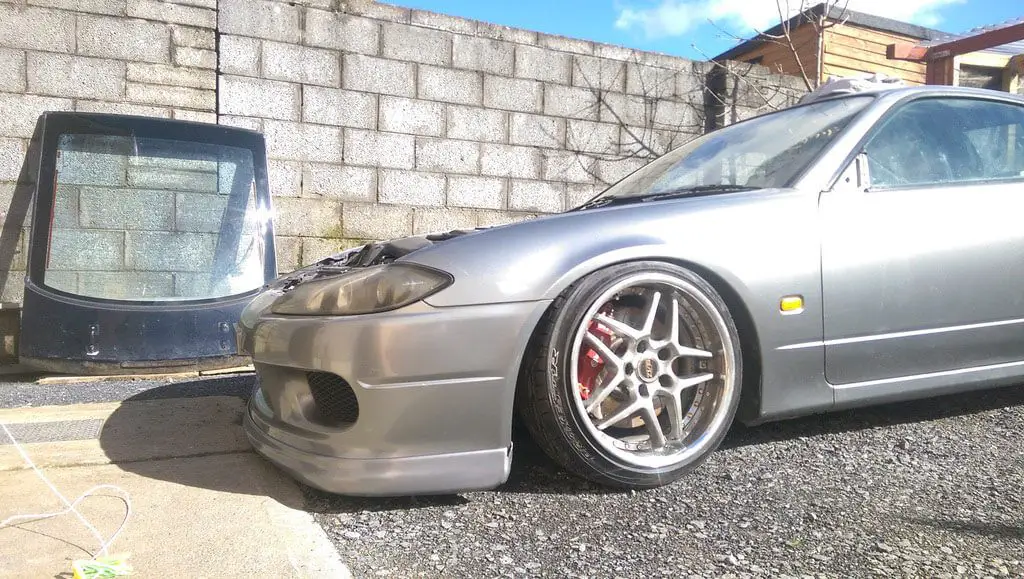
I picked up a DC2 lip and fitted it. I just had to melt the sides with a heat gun to flatten them out so they could reach the length of the bumper, and now it fits fairly well. I just need to paint it!

Nissan S15 Car Build

As you can see I painted the DC2 lip, which came out alright for a pretty half assed job.

Modified Nissan S15 Bonnet Off

I also fitted the less aggressive one of my B-GREO seats which I fit into nicely. I fitted my snap off boss kit and a small OMP flat wheel that I just had for the drift car. Now I can actually fit into and drive the thing! The OMP wheel will be getting replaced in the near future once I decide what type of wheel I want to run full time. It’s hard to decide what to go for as I prefer a small wheel but it’s very hard to find a wheel in a brand or style that I like. I haven’t taken any interior pics just ones from the outside.

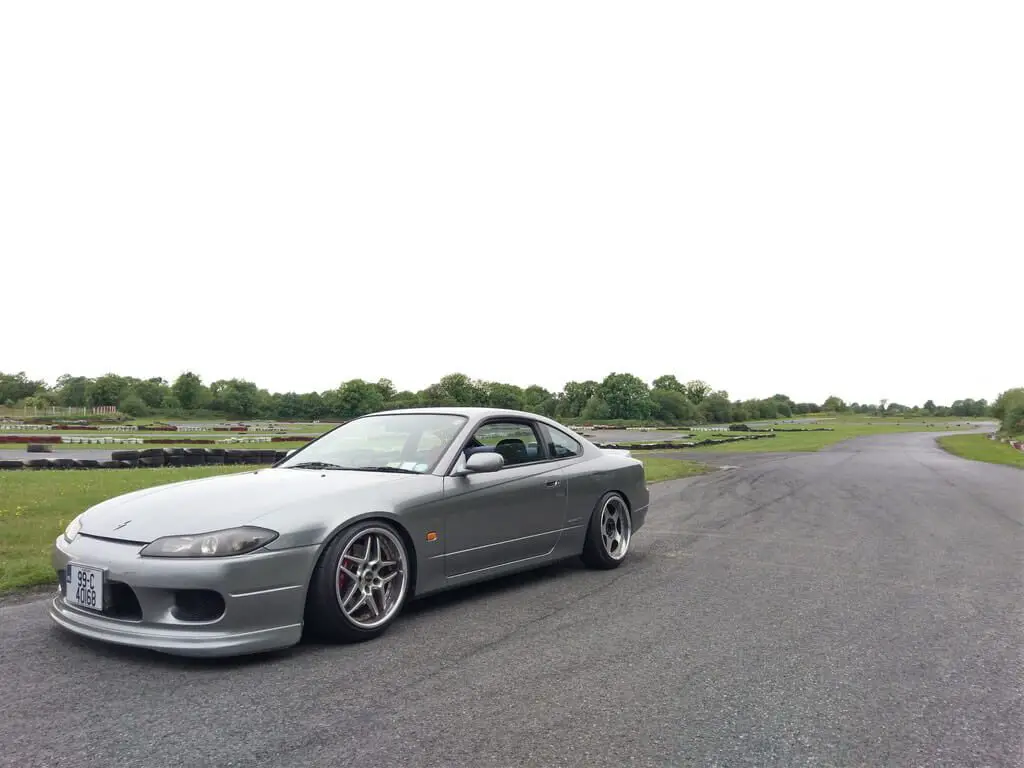
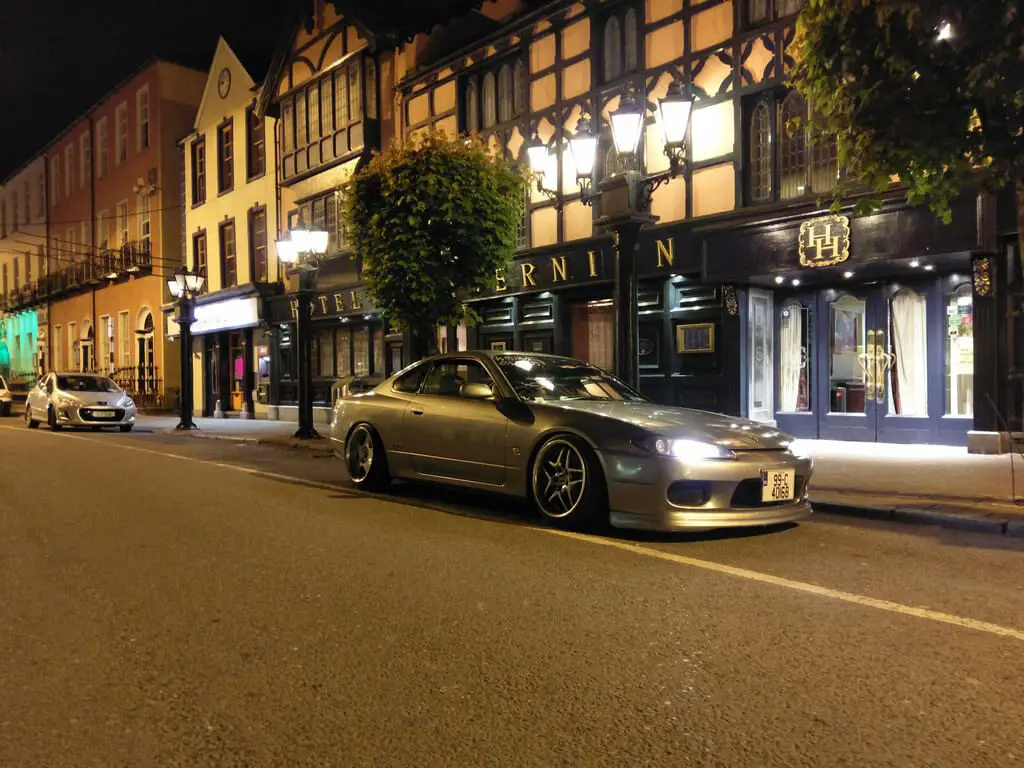
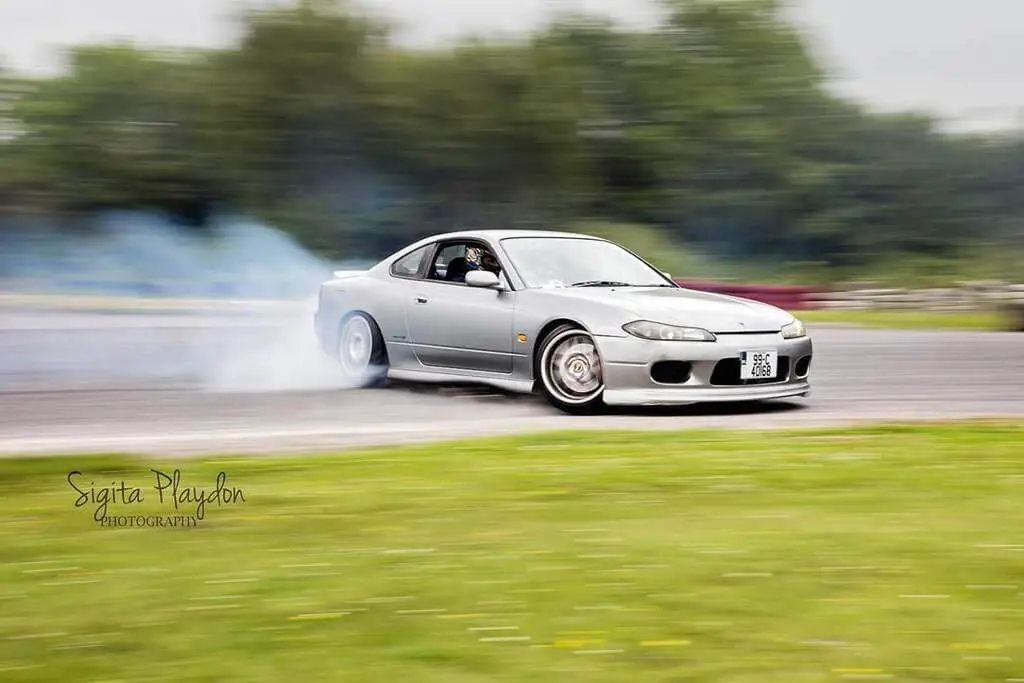
I decided to take it to IGR drifting in Galway for a little fun! I got the car out on track and I’m very happy with it overall.

Modified Nissan S15 Drifting

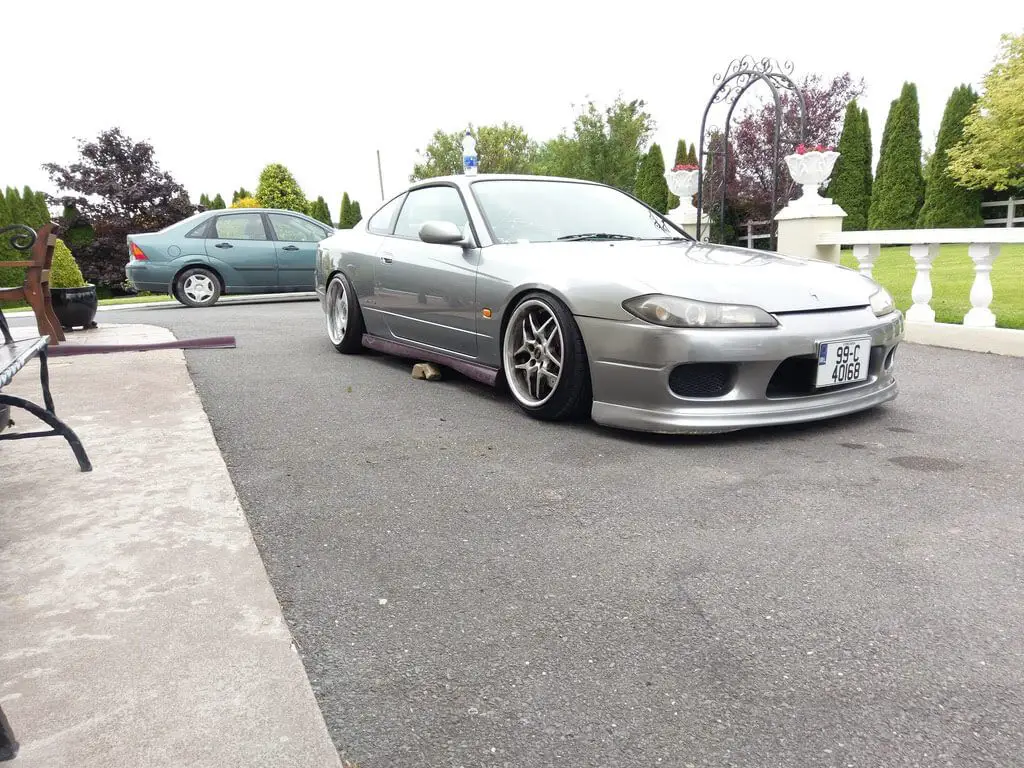
And here’s just another random pic.

Modified Nissan S15 night Photography

Right. So when I put this on the road it was way too low and the tyres were rubbing the arch linings badly. I ended up raising the front end up around 8mm which helped a bit, but it was still rubbing too much. So… I cut up 2 beer cans and used sealant to secure them. This worked for about 2 weeks until they were fully worn through and now they’ve worn into the hoses at the top of the lining. The loom at the back of the arch has also been worn through.

I’m not really sure where to go from here, I refuse to raise it up so that’s not an option.
I was planning on tucking the loom above the lip on the frame when I take the car off the road around the end of July, but I need to sort it ASAP as I don’t want to drive the car and make it any worse.
I also want to keep the arch liners to stop everything getting caked in crap, so I need to figure something out!

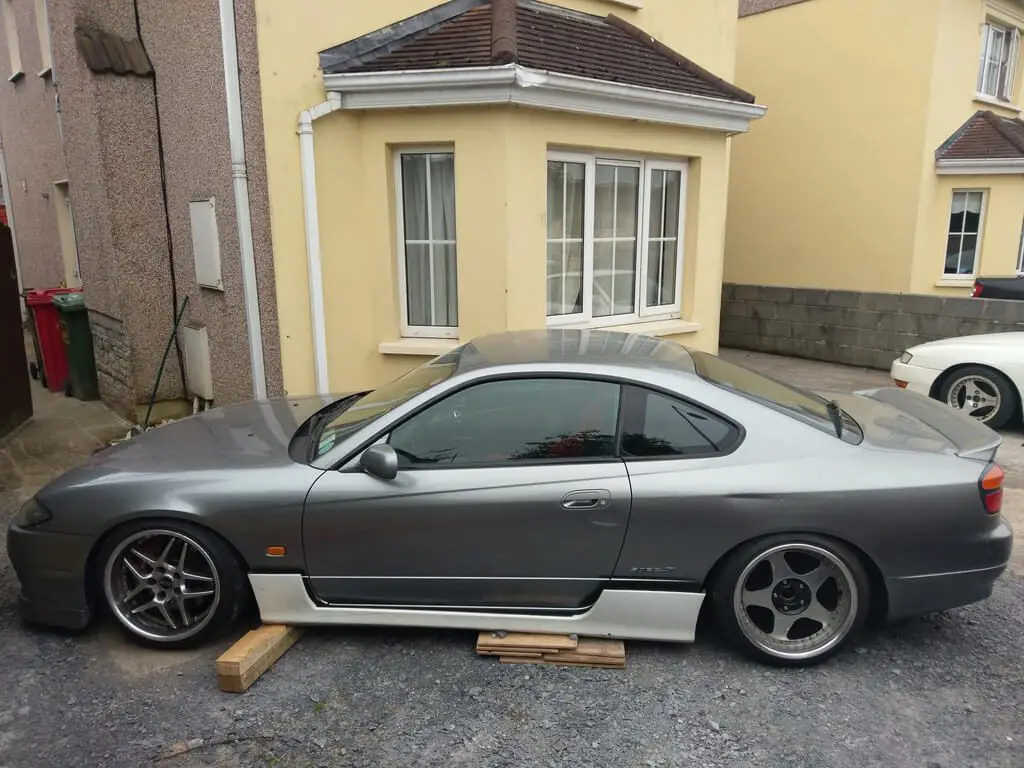
Here’s another random pictures anyway.

Modified Nissan S15 Build

I finally got a chance to go at the loom and linings.
I got quite lucky, the top part of the loom was almost perfect and I didn’t have to alter that at all. But… The back of the loom was a bit rough. So i split the loom, re-insulated all the wires and was able to tuck it up into the back corner of the arch and cable tie it there. I then just pulled the rest of the loom up a bit tighter against the frame and cable tied it up there. Job done!

Modified Nissan S15 Sideskirts

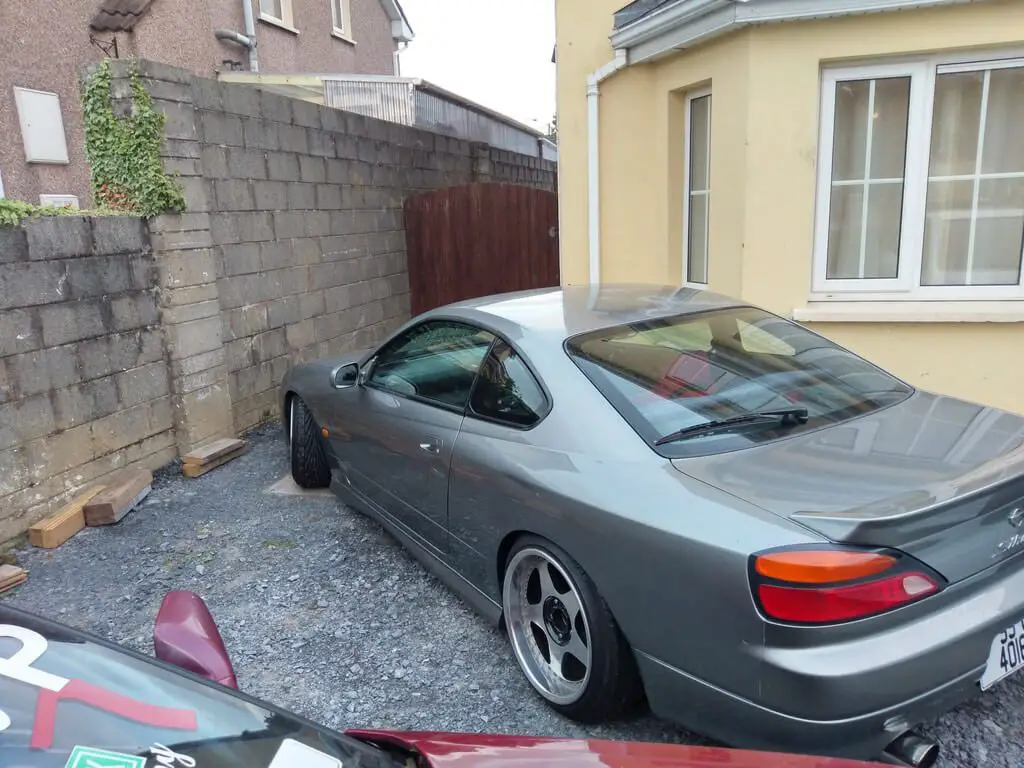
Anyway I got some side skirts as you can see in the picture above! I robbed one of my girlfriends Nissan S14 skirts to just try it out of curiosity.

They looked pretty decent but they were a mile off fitting. Still, they gave me an idea of how a set of skirts would look on the car and I kind of liked them!

A day or two later a guy local to me put up a pair of standard S14 Kouki skirts for free so i nabbed them. I didn’t know if they’d fit but I thought they’d be worth a punt. So I picked them up, put them up against the car and they were surprisingly close.

Modified Nissan S15 Custom Sideskirts

All I ended up having to do was trim a few millimeters off the end of them and make up new end caps. I wasn’t overly keen on how secure the caps were in the end but I’ll come back and fibreglass them on at a later stage.
I decided to paint these with the gun instead of the rattle cans that I had used for the front lip, as I had a bit more time to do these properly. I’m fairly happy with the finish you can see below.

Modified Nissan S15 Painting

I didn’t bother filling any stone chips as I wasn’t sure that I would even like them, but they’re working fine atm. I might pull them off over the winter and re-do them but I’m happy for now.

Fitting them ended up being a pain. The passenger side went on perfectly first try around. The drivers side took three attempts to get right and as I was using double sided tape to secure them, that ended up being a right struggle. We got there in the end and this is how they turned out, pretty smart I think.

Modified Nissan S15 New Sideskirts

I’m still getting used to them but I think I like them for the time being. That’s pretty much it for now. I’m taking the car to Galway drifting again so hopefully the standard clutch can put up with another full day of abuse in the dry!

Here’s another picture of my N/A drifting experience in the dry.

Nissan S15 Drifting

A full days drifting in the dry on a standard clutch and it was flawless, can’t say enough for how well these cars can perform in standard form I don’t get why more people don’t jump on them

A few more pics.

Modified Nissan S15 CarModified Nissan S15 Drift build

Source

Ultimate Guide To Car Modifications

Plan your modifications and have an end goal

It is important to have a goal in mind when planning to upgrade and modify a car. Joey may want a louder exhaust. But it’s no good buying that 3inch exhaust for his naturally aspirated Integra GS-R only to experience less oomph low down as the power band has moved. If Joey is planning to install a turbo the 3inch exhaust is justified. If the plan is to stay naturally aspirated then a 2.5inch exhaust would have been a better buy!

It’s always wise to have an end goal in mind. Will your car of choice be slammed to within an inch of it’s life, or a true licence loser. These decisions now will dictate the modifications you should focus on.


Stanced

If your goal is to stance your car so the regular driver thinks it must be broken, then you need to start putting those pennies into “my air suspension” jar.

Your focus is going to be around a killer suspension, wheel setup. Team those two main modifications with exterior mods to highlight the curves and contours of your car, and even engine tuning if you are after a bit more oomph.

Performance Focused

You may prefer your car to come more in the shape of a track monster. If this is your way forward then you are going to want to extract every punch of performance out of your engine setup. Install a turbo & intercooler if your motor is NA. Firm up that suspension and invest in a good set of tyres.


Before we start modifying cars

Below we will detail some of the more common modifications that car modders install. Not everything will be relevant to you and they don’t need to be completed in the order below. With that said, let’s break out that old ratchet set!


Air Intake System

Car Air Intake Modification

One of the easiest ways to gain some horse power is with the installation of an intake kit, or if a new kit is out of your reach, a performance air filter.

The science behind this being very simple. Power is created from mixing fuel and air, the more of each that is included, the more power you get. Simple… kind of!!

Replacing your standard air filter (which is probably paper) with a performance air filter from some one like K&N will free up the air flow slightly, but not much. you will get a very minor performance bump, but the main benefit here is that you will hear more of the engine noise when you press that loud pedal! Great!

So should I get a performance air filter?

If you aren’t doing it for the extra power but would like a bit more noise, then sure. As an added bonus you don’t need ninja skills to install one either! If you want more power look to a Short Ram Intake or Cold Air Intake.

Short Ram Intakes & Induction Kits

For more money you can get yourself an induction kit or a Short Ram Intake, which usually incorporates new pipe work, and a cone shaped air filter. This replaces your OEM air box. This will no doubt net you slightly more horsepower but not a huge amount.

The main problem here is that the new induction kit sucks air from your engine bay… which is hot. It isn’t until you get your car up to speed that cold air starts to flow in.

This is where cold air intakes come in to play.

Cold Air Intake

Cold Air Intakes include longer pipework than a Short Ram Intake and take the air from a different part of your engine bay, further from the heat. This can be from near the ground and front bumper.

Since the intake is sucking in colder air at all times, more power is generated through more consistent speed ranges. However they come at a price. As more pipework is included, and the fact they are generally harder to fit, the price will be higher than a Short Ram Intake.

Short Ram Intake vs Cold Air Intake

If both of these intake systems are available at a similar price, we would always recommend a cold air intake.

However if your car isn’t already turbo’d and you are planning on adding a turbo we would advise against installing a new induction kit. This is because a lot of turbo kits come with their own intake system.


Exhaust System

Car exhaust modification

Another popular modification is the exhaust. Noise, noise noise!

If you are going for noise and size, as detailed in our introduction, ensure you are getting the correct sized exhaust for your engine.

One myth is that larger exhausts cause a loss of back pressure which negatively affects performance. This isn’t entirely true. Going back to Joey and his Integra. Larger exhausts that are stuck onto naturally aspirated engines can give the effect of power loss. This is because the power band shifts. You will need higher revs to unlock that power.

If your plans are to turbo a NA car then by all means go big. For high powered cars we recommend installing that 3inch exhaust. If you are staying naturally aspirated then coming down to a 2.5inch exhaust will be beneficial.

Resonator Delete vs Muffler Delete

If noise is your goal then you can consider deleting either the muffler or resonator, or installing a straight pipe.

Deleting your Resonator will unlock some noise, however if you are keeping your muffler stock you won’t get too much of a gain. Also be cautious of the dreaded droning at constant rev ranges if deleting the resonator.

If you want more noise, but want to keep drone to a minimum, then consider a muffler delete, or a custom muffler build. Removing the muffler will unlock more noise than the resonator alone.

And if you want to really annoy those pesky neighbours then you can delete both and install a straight pipe. This will be super loud, like jet plane taking off in your garden loud. You’ve been warned!

Should I Upgrade My Downpipe

Installing a performance down pipe can be really beneficial if you have a turbocharged car. This is because you want the most unrestrictive pipe possible coming from the turbo.

Your stock down pipe probably contains numerous bends, and these are quite often restrictive crushing bends. Installing a mandrel bent larger diameter down pipe will free up that air flow.


Installing a Turbo Kit

If you don’t have a turbo on your car currently and plan to install one, we wouldn’t recommend completing any engine modifications until the turbo kit is on. Once the turbo goes on then you can build from their. Most turbo kits include a high performance intake, and you can add a turbo back exhaust in good time to free up that air flow.

Cars with a stock turbo

If your car does have a turbo, either stock or a previously installed kit, then the mods of choice are easy.

Check and upgrade that air intake to a cold air intake. Add a high flow down pipe along with a larger mandrel bent exhaust system.

From there you can tune the engine to deliver more power and boost.

Tuning and Re-Mapping

Remapping your car is possibly the single biggest performance boost modification you can perform. Most manufacturers run their cars down on power to cater for specific markets and target audiences. Because of this most motors can be re-mapped to utilise the extra power that the manufacturer had disabled.

The most important piece of advice here is to pick a reputable tuner. A bad tuner can cause damage to your engine, so make sure you do your research here!


Suspension

Buying a modified car

This is one of those moments that you need to ask yourself what you are after with the look of your car and the performance goals.

Depending what you are after you have a multitude of options. If you want a little less arch gap and a slightly firmer ride you can get performance springs or lowering springs. This will shave off those mm and can negate some body roll. Team a good set of springs with performance dampers and you will have a strong ride, with a much more aggressive stance.

Should I always buy new dampers when I upgrade the springs?

No… but yes. Your stock dampers can last a while with lower springs, however the increased spring rate will cause them to wear at an accelerated rate. This could mean that a few months after you paid that mechanic to install your springs you will be going back to pay once again to replace your blown shocks.

Why not get a decent set of dampers to go along with your new springs and save yourself that extra labour charge.

Lowering Springs vs Coilovers

If you are track focused and want more control over your ride height then coil overs are the way to go. They generally create a better handling car than a spring and damper combo. Coilovers also give you the ability to adjust the ride height, making your car setup much more versatile. Ideal for track occasions. Coilovers would be advised if you are after max performance, and lowering springs if you are after a better look.

So wouldn’t coilovers always be recommended?

The trade off however would be that coilovers come at a higher cost. The adjustability and overall setup mean the price point is higher compared to springs and shocks.

What the heck is air suspension?

Air suspension is exactly that. An electric air pump fills the hollow suspension with air, which in turn raises the car off the ground. We won’t touch too much on this one but it is a truly great option for those who want a super stanced look to their car. You can set multiple height levels, meaning at the touch of a button your car can sit higher or lower.


Wheels and Tires

Aftermarket wheels are one of the best visual mods to start with. They give a strong look to any OEM ride and can really set your car apart from the crowd the instant they are installed.

Aftermarket wheels often boast that they are lightweight to satisfy that need to shed weight in exchange for performance.

Which wheels you stick on your ride is such a personal option that no one can really advise you. You have to look at them day in day out after all.

The best thing to do would be to go for the lightest wheels that you can find and like. If you are planning on installing a big brake kit then you need to allow room for the disc and callipers.

Another thing to look for is the wheel offset, which dictates how close to the car the body of the wheel is. In extreme cases, too close and your wheel can clip your suspension. Too far and they will stick out for the arches. There are great tools on the web to calculate your offset and offer visual comparisons from your old wheel setup to your new.

We always use a site called http://www.willtheyfit.com/ to check our new wheel setups.


And after all of that information about modifications…

Right. Lots of information. We wanted to touch on a lot of options from performance to aesthetics, and now it’s over to you to plan your build. For us that is one of the best and most important parts, planning. At this stage your imagination can run wild, you can cost up everything you want to do and scour those specialist forums for suggestions.

Modifying your car is fun and shouldn’t be daunting for those who are doing it for the first time. You will rarely get the correct setup first time round, and will no doubt change up parts over the course of your ownership. Importantly, have a goal in mind and make it your own.

If you’re reading this article with the intention of buying an already modified car, be sure to read our modified car checklist.

Source

Buying a Modified Used Car Checklist – The Ultimate 68 Point list!

The boxes below are all tick-able, so you can see your progress in green, or alternatively you can print out the page to take with you when viewing a car.

Documents

Check the seller is the registered keeper on the V5C

Ensure the V5C has a watermark on it

Check the VIN (vehicle identification number) on the V5C matches that on the car

Check the colour on the V5C matches the car

Check the car’s MOT certificate

Check for any advisories on the latest MOT

Check previous MOT’s to ensure the mileage adds up and increases year on year

Check any previous advisories on old MOT certificates and ensure fixes have been implemented

Check the service book for the service history – Are there any large gaps?

Bodywork & Exterior

Check wheels for evidence of kerbing

Check that tires are correctly inflated – slightly deflated tyres could be a sign of a slow puncture

Listen closely to each tyre for any signs of air escaping

Check tyre sidewall to ensure no bulging

Check tyre tread. 1.6mm is the legal limit but it should be well above this

Check for uneven wear across the tyre face. This could mean uneven alignment

If the wheels are aftermarket check the manufacturer to ensure they are of a good quality

Check the windscreen for any chips or cracks that would need repairing

Check for any suspicious panels that look resprayed

Ensure the paint is a consistent quality all around the car and that there is no fading

 Check the gaps between every panel are all the same

Check wheel wells and under car for any signs of welding or rust

Look for any signs of accident damage, check panel colour and form

Turn all lights on individually including indicators and ensure all are working

Interior

If the car is reasonably new the interior should reflect that and be almost spotless

Check seat bolsters for wear

Check all trim pieces are securely fitted

Check all equipment is working such as heated seats, window wipers etc.

Check all gauges are working

Turn the air conditioning on and ensure there is no squeaking sound

Check all fan speeds and settings work

Check steering wheel for wear or replacement

Check to see if any replaced panels have been installed correctly

See if the spare tyre and manufacturer tools are still in the car

Check for any signs of water damage in the glovebox, along the floor and under seats

Engine

Check the belts to see if they look worn

Check all hoses to ensure none are loose and none feel brittle

Ask how old the battery is ensuring it is no older than 4 years

Check engine bay for sign of leaks

Check the floor under car for signs of leaking

Check the oil level is at correct level

Check that the oil on dipstick is not discoloured (it should be clear)

Remove the oil cap and check for a white or brown sludge. You shouldn’t see any

 If mods such as a turbo have been added, check for that the corresponding parts have been installed such as intercooler

 Check all other fluids such as brake fluid and coolant to ensure they are all at the correct level

Turn the ignition on ensuring all warning lights come on

Start the car and check all warning lights go out

Ask seller to start car with bonnet up. Listen for unusual noises or screeching

Check the car idles consistently after a couple;e of minutes

Gearbox & Clutch

 Check the biting point of the clutch at a stand still. It should be at around middle of the pedal travel

If the clutch is long, meaning the bite point is at the floor it could mean a failing clutch

Exhaust

With engine on walk to back of the car – Check for any consistent coloured smoke

Blue smoke indicates oil leaking into the cylinders

White smoke can point to head gasket failure

Black smoke indicates too much fuel being burned

Suspension

Push firmly on each corner of the car a few times and release. It should return to stationary with a couple of bounces and shouldn’t squeak

Check the vehicle is sitting level

When driving pay attention for rough ride

 When driving listen for any squeaks

Make sure vehicle doesn’t pull to one side when driving

Test Drive

Find a safe spot and turn full lock both directions to ensure nothing rubs

Brake firmly in a straight line, make sure the brake pedal feels firm and responsive

Check the car doesn’t pull to one direction when braking

Drive over bumps and listen out for any noises from the suspension

Let go of the steering wheel briefly when safe to do so and ensure it is centred and remains driving straight

Listen for any interior rattling

Check all gears engage smoothly

If the car is automatic check that the car kicks down well when you accelerate hard

If driving a manual, drive at around 30MPH in top gear and floor the throttle. Ensure the engine revs don’t increase quickly. This could mean the clutch is slipping

If you are looking to buy a modified used car, but are unsure about some of the mechanical aspects. Then head over to our ultimate guide to car modifications to learn about which modifications you should and shouldn’t be looking for.

Source